Making a DIY dog food dispenser allows you to simplify mealtime for your pet while also engaging in a fun and rewarding project. This guide will provide step-by-step instructions and tips for creating your own homemade dog food dispenser. With this DIY project, you can customize the design to fit your dog’s specific needs and preferences.
Key Takeaways:
- Creating a DIY dog food dispenser is a great way to simplify mealtime for your pet.
- By building your own dispenser, you can customize the design to meet your dog’s specific needs.
- Follow step-by-step instructions to construct the framework and portion control mechanism.
- Consider adding sloping internal shelves and a hinged top for convenience.
- Building a homemade dog food dispenser allows you to have full control over portion sizes and mealtime routines.
Materials and Tools for DIY Dog Food Dispenser
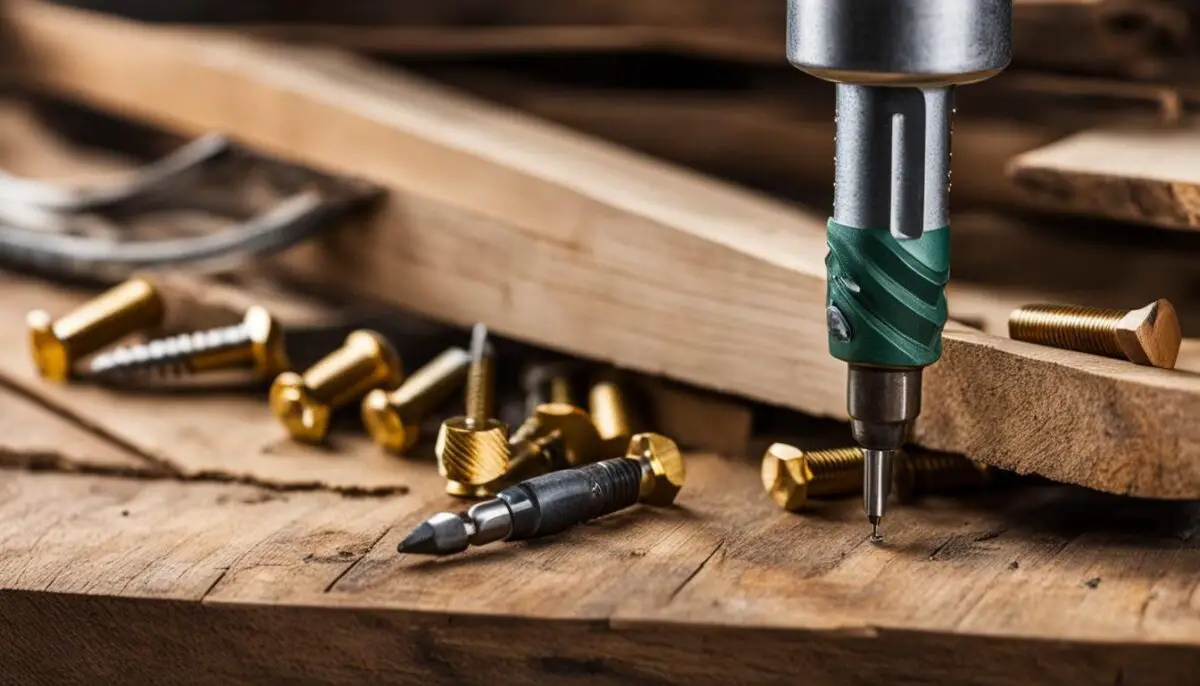
To build your own dog food dispenser, you’ll need a selection of materials and tools. These items will help you create a sturdy and functional homemade dog food dispenser that meets your pet’s needs. Below is a list of suggested supplies:
- 12mm plywood
- Circular saw
- Clamps
- Band saw
- Combi drill
- Screws
<!–
–>
These tools will assist you in cutting and shaping the plywood, as well as assembling the various components of the dog food dispenser. A circular saw will provide clean and precise cuts, while clamps and a band saw offer stability during the construction process. A combi drill, on the other hand, makes it easier to create holes for screws and other connections.
Building your own dog food dispenser not only allows you to save money but also gives you the flexibility to customize the design to your pet’s preferences.

With these materials and tools at your disposal, you’ll be well-equipped to embark on your homemade dog food dispenser project. Remember, safety should always be a priority when working with power tools, so ensure that you follow proper safety measures and use protective gear.
Building the Framework for the Dog Food Dispenser
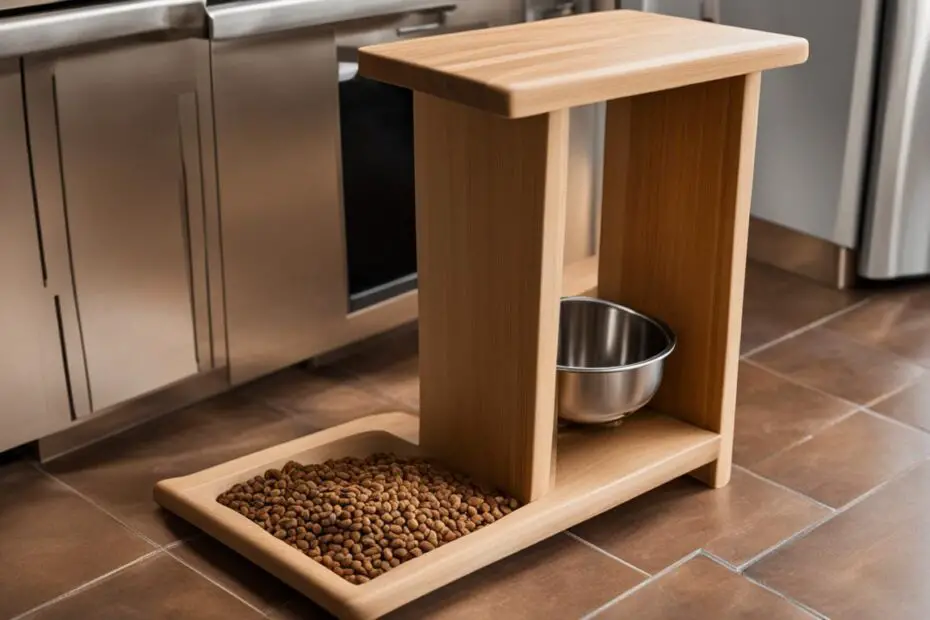
When it comes to creating your own DIY dog food dispenser, the first step is to build a sturdy framework that will serve as the foundation for the dispenser. This framework will provide stability and security, ensuring that your homemade dog food dispenser can withstand daily use. Let’s dive into the process of constructing the framework.
To begin, you’ll need the following materials:
- 12mm plywood
- Circular saw
- Clamps
- Band saw
- Combi drill
These tools and materials will enable you to create a reliable and durable framework for your dog food dispenser. Once you have gathered everything you need, follow these steps:
1. Measure and cut the plywood
Start by measuring and cutting the plywood into appropriate pieces for the base and sides of the dispenser. The dimensions will depend on the size of your dog and the amount of food you plan to store. The plans available can provide you with specific measurements and guidance.
2. Assemble the base and sides
Using clamps to secure the plywood pieces, assemble the base and sides of the dispenser. Ensure that the joints are flush and tight to create a sturdy structure. You may need to use a combination of a circular saw and a band saw to achieve accurate cuts for the various components.
3. Test the stability
Once the base and sides are assembled, test the stability of the framework. Place it on a flat surface and gently apply pressure to check for any wobbling or unevenness. Make any necessary adjustments to ensure a secure and stable dog food dispenser.
By following these steps and using the provided plans, you can create a framework that is tailored to your dog’s specific needs. Whether you’re planning to store canned food, dog biscuits, or a combination of both, this framework will form the solid foundation of your homemade dog food dispenser.
Next, we will explore the process of creating the portion control mechanism, an essential feature of any dog food dispenser. Stay tuned!

Creating the Portion Control Mechanism
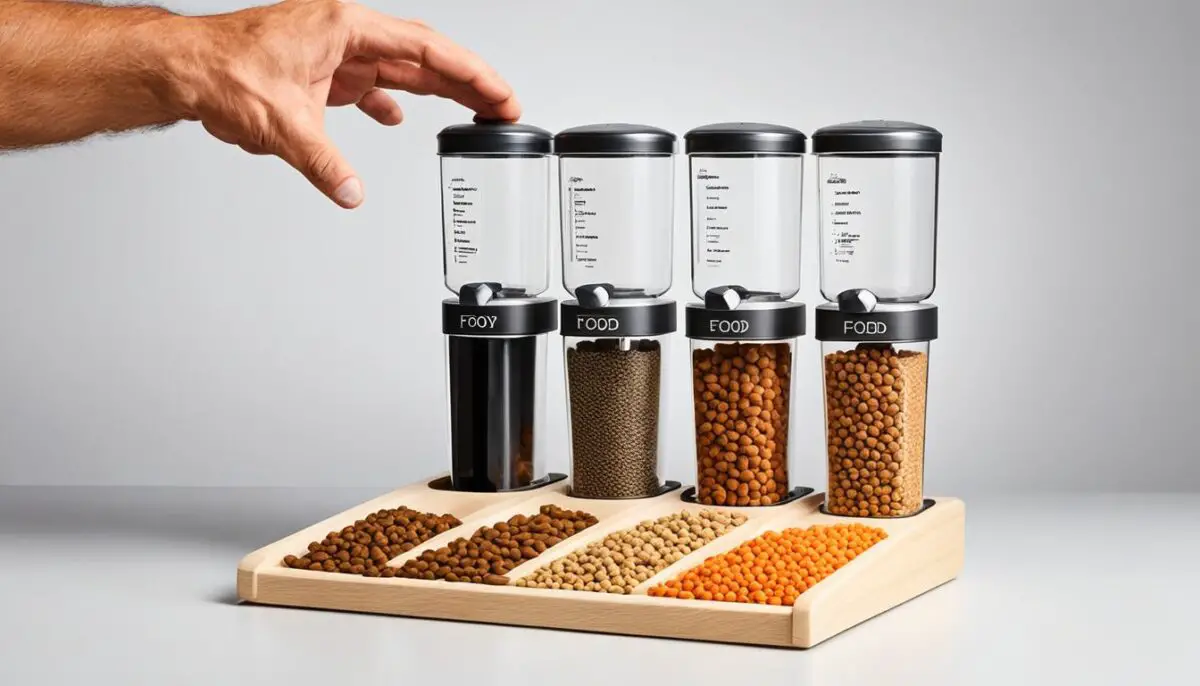
An essential feature of a dog food dispenser is the portion control mechanism. This allows you to serve a specific amount of food to your dog with each meal. The mechanism involves creating a lever system that dispenses the desired portion of food.
To implement this mechanism, follow these steps:
- Start by drilling holes in the plywood where the portion box will be attached.
- Attach a lever with runners to control the movement of the portion box. Make sure to secure it tightly.
This design ensures that the food does not get stuck or jammed in the dispenser, providing a smooth and controlled dispensing process.
“Having a reliable portion control mechanism is crucial for maintaining your dog’s balanced diet. It allows you to regulate their food intake and prevent overfeeding. Plus, it adds a level of convenience to your daily routine.” – Jane Smith, Canine Nutrition Expert
Portion Control Mechanism Step-By-Step
Here’s a step-by-step breakdown of how to create the portion control mechanism:
- Measure and mark the desired position of the holes on the plywood.
- Use a drill to make holes that are large enough for the lever runners to fit through.
- Attach the lever runners to the portion box securely, ensuring they can move freely.
- Insert the lever runners through the holes in the plywood, allowing them to slide back and forth smoothly.
- Test the mechanism by filling the portion box with a small amount of food and moving the lever back and forth to dispense the food. Make any necessary adjustments to ensure proper functioning.

| Advantages | Disadvantages |
|---|---|
| Allows precise portion control | Requires precise measurement and alignment during installation |
| Prevents overfeeding and promotes a healthy diet | May require periodic maintenance and cleaning |
| Customizable to accommodate different portion sizes | Initial setup and construction can be time-consuming |
Assembling the Dog Food Dispenser and Adding Final Touches
Once you have completed the framework and portion control mechanism, it’s time to assemble your dog food dispenser and add those finishing touches. This exciting step brings your DIY project one step closer to becoming a practical and functional addition to your pet’s daily routine.
Start by attaching the portion box to the kibble shelf using screws. The portion box is where you’ll store your dog’s food, and the kibble shelf provides a convenient platform for easy access. Make sure to securely fasten the box to the shelf to prevent any accidental spills or messes.
Next, it’s time to attach the kibble shelf to the frame of the dispenser. This step ensures that your dog has enough space to comfortably reach their food while keeping everything securely in place. Use screws to firmly attach the shelf to the frame, creating a stable structure that can withstand your pet’s mealtime excitement.
As you assemble the dispenser, consider adding sloping internal shelves to prevent the food from getting stuck. These sloping shelves allow for a smooth flow of kibble, ensuring a seamless feeding experience for your furry friend. By implementing this design feature, you’ll minimize any potential blockages or obstructions within the dispenser.
For easy refilling and maintenance, you may also want to incorporate a hinged top. This top allows you to conveniently lift and refill the portion box, ensuring your dog always has a fresh supply of food. Additionally, the hinged top makes it easier to clean the dispenser, promoting hygienic and sanitary conditions for your pet’s feeding area.
Now that you have assembled your DIY dog food dispenser, it’s time to marvel at your creation and let your furry companion enjoy their new automatic feeding system. With each meal, your dog will be able to access and consume their food with ease, thanks to your homemade invention.
Let’s take a closer look at the assembly process and the additional touches you can add to your dog food dispenser:
| Assembly Steps | Additional Touches |
|---|---|
| 1. Attach portion box to kibble shelf | – Adding sloping internal shelves – Installing a hinged top for easy refilling |
| 2. Securely attach the kibble shelf to the frame |
Conclusion
Building a homemade dog food dispenser through a DIY project is a rewarding endeavor that can greatly simplify mealtime for both you and your beloved furry friend. By following the step-by-step instructions and using the suggested materials and tools, you can create a customized dispenser that perfectly caters to your dog’s specific needs and dietary preferences.
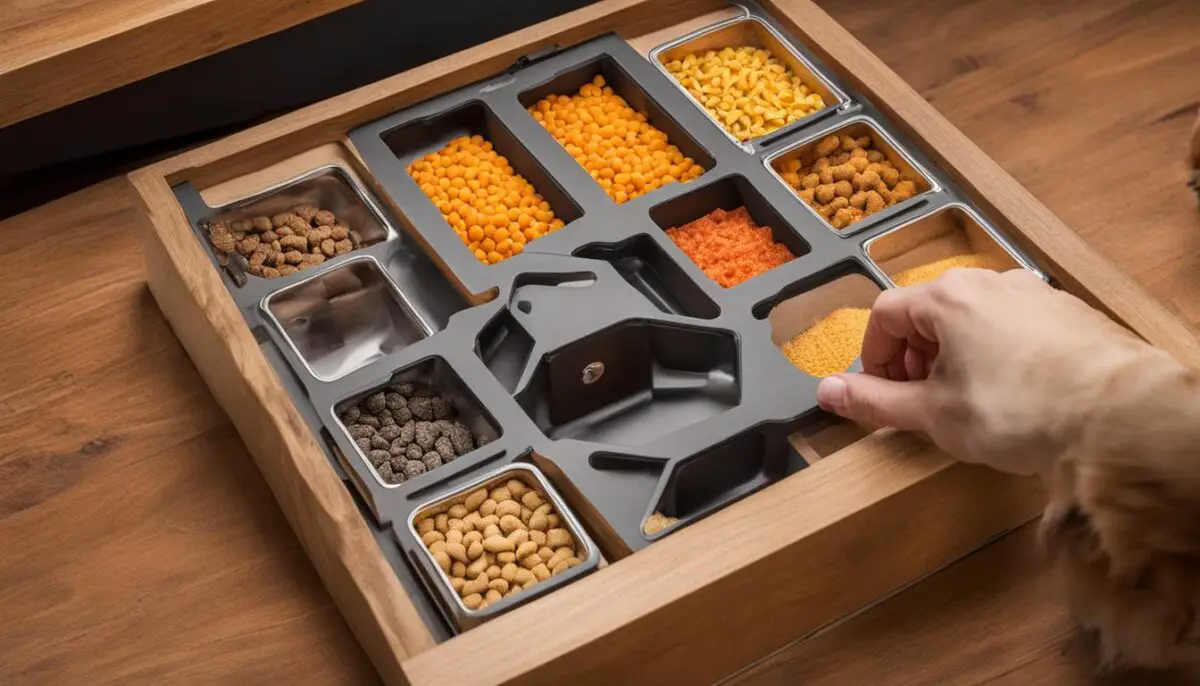
With the freedom to choose between storing canned food, dog biscuits, or both, a DIY dog food dispenser gives you complete control over portion sizes and ensures consistent mealtime routines. Not only does it provide convenience for you, but it also promotes a healthier approach to feeding your dog, preventing overeating or underfeeding.
Embrace your creativity and enjoy the gratifying bonding experience with your pet as they interact with the innovative design of your homemade dog food dispenser. From start to finish, this project allows you to engage in a meaningful activity that not only benefits your dog’s well-being but also showcases your love and dedication as a pet owner.
FAQ
What materials and tools do I need to build a DIY dog food dispenser?
To build a DIY dog food dispenser, you will need materials such as 12mm plywood and tools like a circular saw, clamps, band saw, and a combi drill. These supplies will help you create a sturdy and functional homemade dog food dispenser.
How do I construct the framework for a DIY dog food dispenser?
Constructing the framework involves cutting and assembling plywood pieces to create the base and sides of the dispenser. Using measurements and guidance from the available plans, you can build a stable framework that can accommodate different types of dog food storage.
How can I create the portion control mechanism for a homemade dog food dispenser?
The portion control mechanism involves drilling holes in the plywood and attaching a lever with runners. This system allows you to dispense the desired amount of food smoothly and without jams or obstructions.
What are the steps to assemble a DIY dog food dispenser?
To assemble the dog food dispenser, you need to attach the portion box to the kibble shelf and secure it with screws. Then, you can attach the shelf to the frame, ensuring enough space for your dog to access their food. Additional tips include adding sloping internal shelves to prevent food from getting stuck and adding a hinged top for easy refilling.
How can a DIY dog food dispenser simplify mealtime?
A homemade dog food dispenser allows you to have full control over portion sizes and mealtime routines. With this DIY project, you can customize the dispenser to accommodate canned food, dog biscuits, or a combination of both, making mealtime simpler for you and your dog.
